Pin It
I have two fun workshops scheduled for June and I hope you will be able to join us! You can find the details of both workshops following the photos. RSVP for you and a friend today!
Passages Card Workshop
Masculine/Father's Day Scrapbook Workshop
Passages Card Workshop
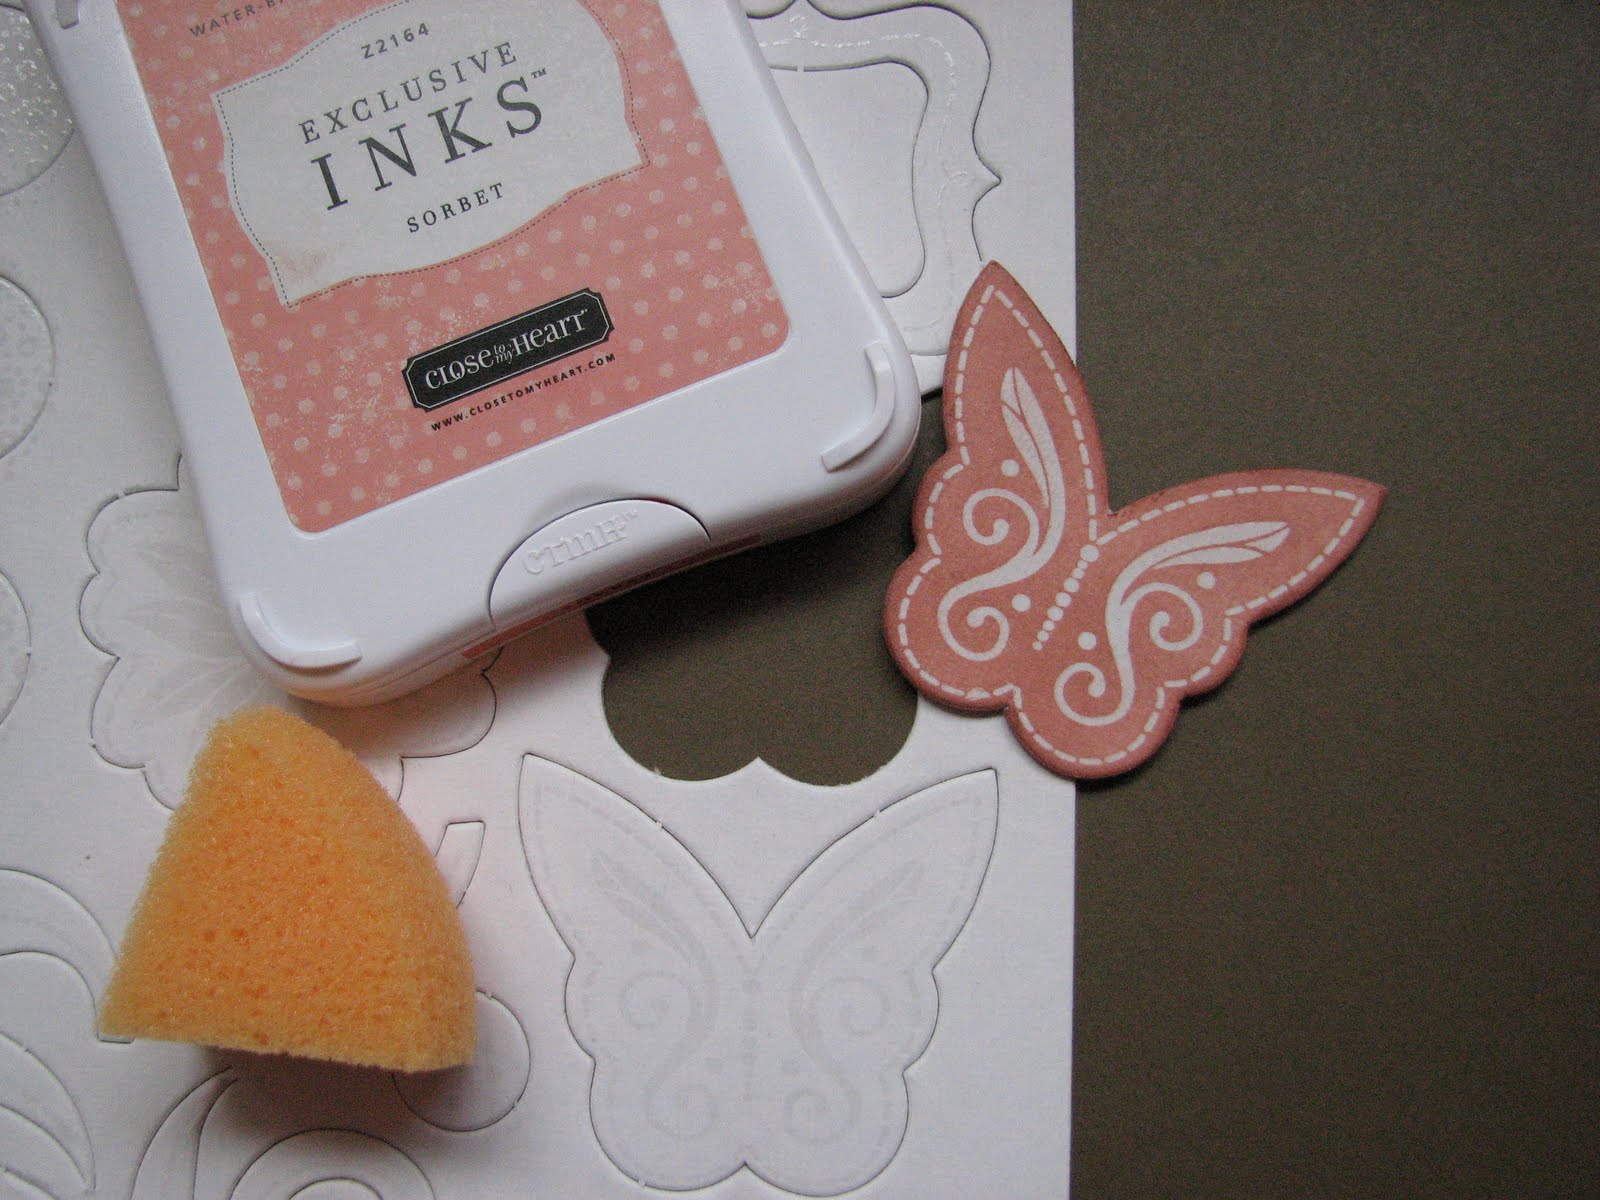
The Passages Cardmaking Workshop features the My Acrylix® Lifetime and June Stamp of the Month stamp sets. These nostalgic images of yesteryear paired with the My Reflections® Passages Level 2 paper packet and coordinating accessories will envelope your memories in timeworn beauty. Sign up today for some old-fashioned fun!
What: Make 5 cards using the
Passages Workshops on the Go set, plus use the Lifetime and June Stamp of the Month sets!
When: June 5th from 10:00 AM to 12:30 PM
Place: Angela's Stamp Studio in Fircrest, WA
Please
RSVP before 6/3 so I can make sure to have your papers precut and ready for you.
Cost: $5 Supply Fee + an order of $20 or more (or a $25 workshop fee)
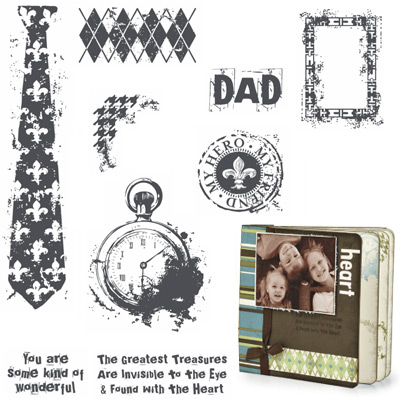
Masculine/Father's Day Scrapbook Workshop
Do you need a gift for your spouse, father, or son?* At this workshop we will combine two new products - the
Passages Level 1 Kit and
My Creations Board Book to create a fun and easy scrapbook! The pages will be precut and ready for you to stick onto your book.
Fri, Jun 18th from 6:30 pm to 8:00 pm
Place: Angela's Stamp Studio, Fircrest, WA
Includes: Board Book and Passages Level 1 Kit
Cost: $21.00 per book (You can make more than one if you wish!)
RSVP: Please prepay for your supplies prior to 6/5. Just
email me with your contact information and I will let you know where to send your payment.
Please bring scissors, scrapbook adhesive, a paper trimmer and 10-14 photos if you have them. You can always add your photos at home too. Need Adhesive? Just add a Tombow Adhesive for $8.00
*Children 5 and up are welcome to join mom at this workshop!
Pin It